Showing posts with label cute. Show all posts

Friday, 26 February 2016

How to make a miniature dessert from polymer clay for BJD MSD doll or for american girl scale doll


Fancy a sweet chocolate box for your MSD dolly?

 If you are keen to have a go and make this easy dessert from clay please check out my video how to:


This is an easy project for beginners in polymer clay. All you need is clay in 4 colours (brown, vanilla, green and red), square cutter (2cm) or just a square paper pattern, blade, texture sheet (if not, then do it manually with a dotting tool), liquid clay, rolling pin or pasta machine.

I have used fimo soft and premo sculpey. Liquid clay was Fimo gel. 
Gloss with any polyurethane varnish.


The model is Resinsoul MSD size doll Rong


Saturday, 2 January 2016

3D printed kitten and Iplehouse puppy BJD dolls

These adorable BJD pets (4.5 cm tall) are simply amazing. Kitten pose-ability is outstanding and magnetic face plates are so easy to change. Iplehouse puppy is slightly more limited in movements, but still offers great pose opportunity for photography. Iplehouse puppy has got a magnetic tale, his "face up" is generic by the company. Both of these BJD pets are full of character and are suitable for 2 scales as pets: YoSD and MSD.

With MSD girls:


With Obitsu 1/6 girl:


The puppy can stand like this by using his tail, whereas the kitten can do it tail free. Kitten has got excellent pose-ability "skills"!


With MSD again:


awwww....


Friday, 15 May 2015

Anthro ball jointed doll (BJD) Freya face up and body painting - snow leopard

Phew!

I have received another anthro ball jointed doll (BJD) from the UK supplier this time, though I was rather disappointed about the quality of the received Freya. Her headcap was hardly on because the fixtures were too big, so I had to use a knife to shave the excess of plastic off in order to fit the headcap properly. I was surprised that she was not damaged in transit because she was just shoved in a plastic bag and posted like that to me. I would not order from this supplier again!

Anyway, I've decided to give my new Freya (she is 1/6 bjd) a face up and body up(?) with a bit of a blushing.

Here is the final result: Freya - the snow leopard.

I have primed her whole body with the humbrol acrylic varnish in matt (#49) and painted with black acrylic paints (undiluted). Blushed her cheeks, forehead and body with chalk pastels, sponged her claws with pink paint, sprayed with the same varnish again and it was done. This varnish is brilliant, it is very hard wearing and 2 layers have sealed my work for ever.

Click here for youtube video of me painting Freya


I've decided to show you Phoebe's basic face up I did the other day as well. 


Phoebe has a special place in my heart, she reminds me of my pet rat :D

Her face up is pretty basic, so I will probably add extra details to her face and body.


Thank you for your interest!


Wednesday, 13 May 2015

Nano Freya BJD is playing with her food

Recently, I've fallen in love with ball jointed dolls. Though, I have decided to start small and see whether this new passion will grow into another hobby. Luckily, I still can enjoy making miniatures for the these dolls and will probably start using stashes of already made clay miniatures which I have never had a chance to sell or to finish properly.

My first pilot run photoshoot took place at my desk with my Nano Freya. She is made from ABS plastic (not from resin, like other ball jointed doll (BJD). She is 12 cm tall only and sooooo adorable. If you want to see me unboxing her please watch this youtube video.

Her eyes made by me. Her "face up" was a very quick affair, it took me less than 2 hours including setting the pastels and acrylics with a matt varnish. Her overall was made in 2 days, it was hard work for me, as I am not a seamstress by any means, and actually not particularly keen on sewing, though I thought that this doll deserves a hand stitched outfit:)

Here is the scene: "Playing with my food" (tins of "Whichkas" I've made from clay, labels are of my own design as well)

:)

Mmmm... All for me!


ALL MINE!


No, please do not go, I will share my meal with you! I promise!


Thank you for reading :)

Tuesday, 14 April 2015

Video tutorial: Birthday cake - polymer clay miniature


Here is a tutorial of how to make miniature cake from polymer clay.

This is a simple way of making a miniature cake from polymer or air dry clays with a rather cute result. You do not need a lot of equipment and the tools I've used in this tutorial can be substituted by the other objects you have probably already got in the house. For example, if you have not got a crinkled blade you can just use the x-acto knife to cut the same pattern. If you have not got liquid clay – not a problem, you can use PVA to glue not only baked polymer clay pieces together but also the unbaked decoration. 
In order to get “muted” or pale clay colour just mix white clay with the artist’ pastels. I have just scrapped the pastels with the knife and mixed it into the clay. The intensity of colour can be easily controlled.
The hearts can be effortlessly made into the petals, just roll from one wide side to another. This cake is not just for a doll house, but can be made into a pendant, key-ring or even used for decoden. The choice is yours. 


Thank you for watching.
Any questions please ask. And enjoy!


Wednesday, 8 April 2015

Chinese/Japanese book review about making cats and cute kittens from polymer clay or air dry clay

This is a review for Chinese or Japanese language book about making cats from clay. The book is amazing and I would recommend getting it.  In my video review you will see the whole book and I will show you couple of my cats I have made from the book. Hope you'll enjoy!


If you love cats - you'll love the book

Saturday, 29 January 2011

New tutorial St. valentine's day gift

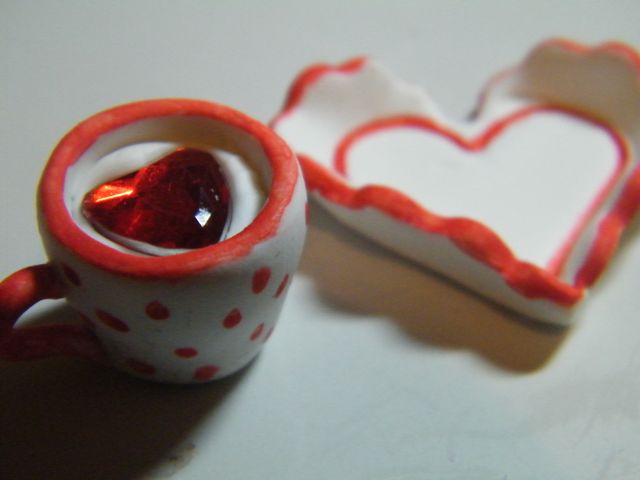
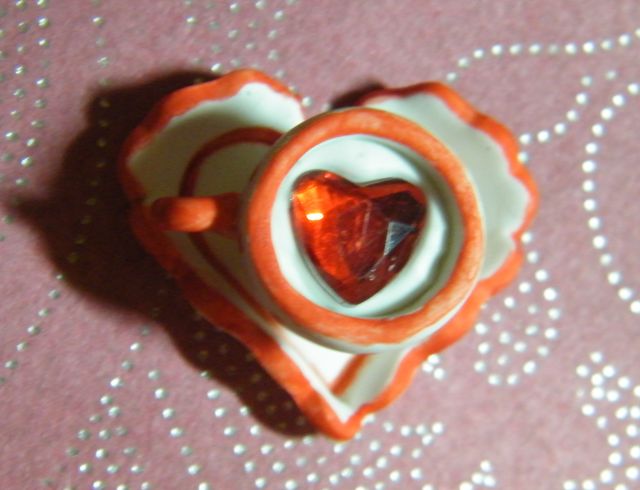
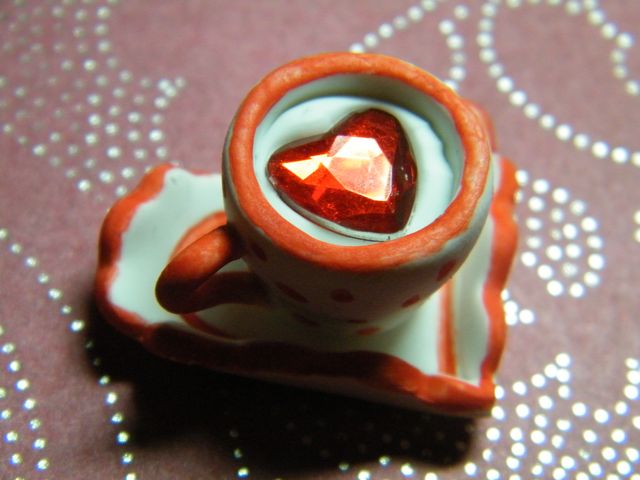
Kawaii valentine heart plate and mug ring or necklace from polymer clay

Materials needed:
Polymer clay
Crinkled cookie cutter heart shaped
Plain cookie cutter heart shaped
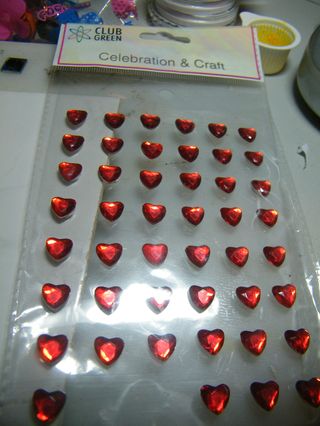
Heart embellishment (for cards)
Acrylic paint
Pasta machine or roller

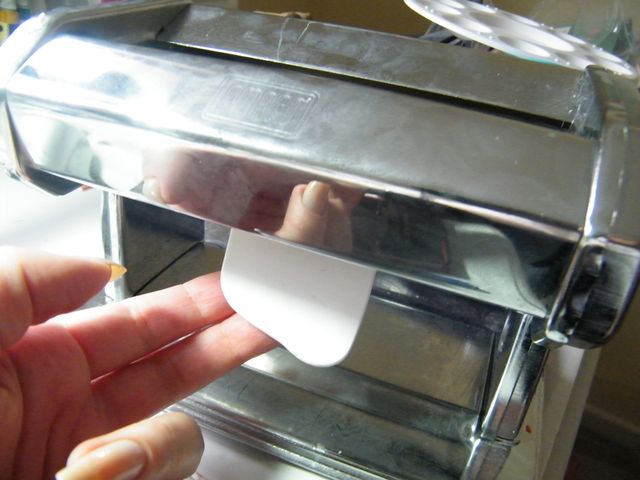
Start with rolling clay through the pasta machine on the middle setting.


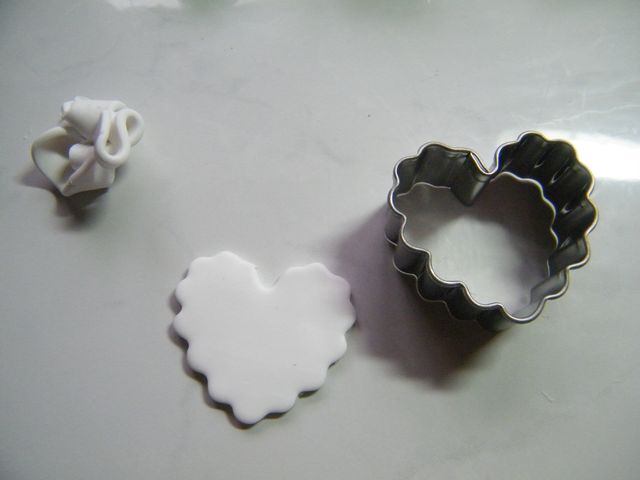
Use crinkled cookie to cut the heart out.


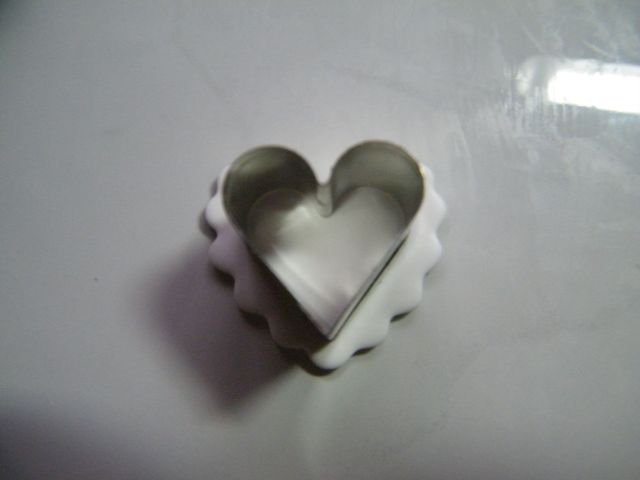
Use plain heart cookie cuter to identify the folding lines. Do not press too hard


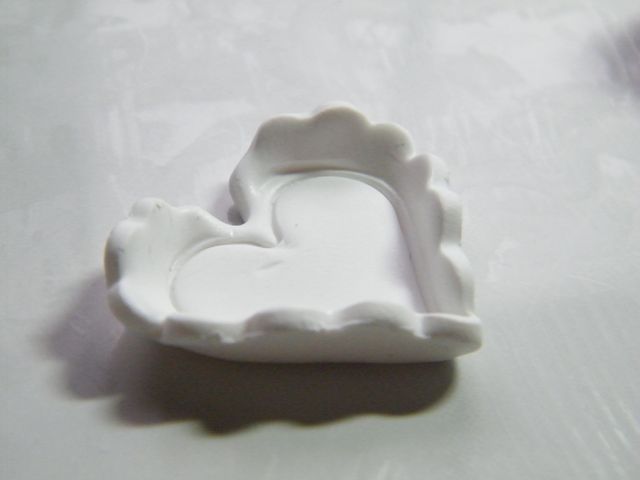
Leave the plain cutter in and bend the edges to create the plate. Make a hole on the top of the plate if you would like to create a necklace.


Before baking the plate please refer to my other tutorial how to make a cup. Use that instruction to make a mug.
Bake plate and mug as per your chosen polymer clay brand instruction. Leave it to cool.

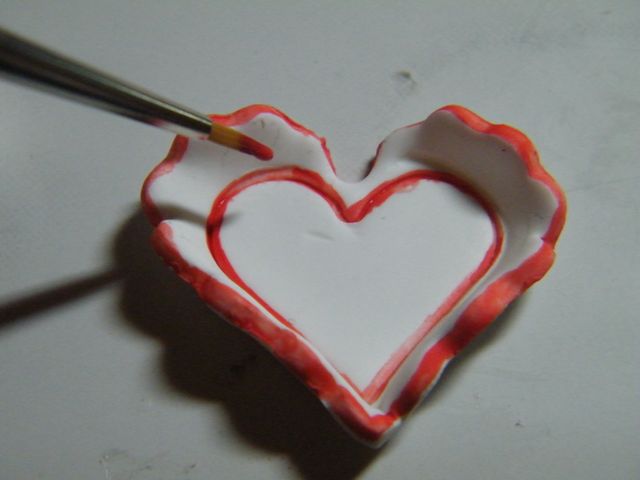
Paint the plate and the mug. 


Glue the heart embellishment to the inside of the mug.


Now it is ready to be a pendant or glued to the ring base.

Enjoy!